セキュリティーツール:Nessus
Nessusは、Nessus Projectで開発・維持されているセキュリティスキャナです。
検査したいサーバのポートをスキャンし、その脆弱性をレポートします。
スキャンを実施する側とスキャンされる側(サーバ)は、独立していてクライアント・サーバモデルのアーキティクチャを採用しています。
Nessusサーバのインストール
いつも通り、apt-get install でインストールを実行します。
# apt-get install nessusd
途中で証明書の作成画面になります。
/var/lib/nessus/private/CA created
/var/lib/nessus/CA created
-------------------------------------------------------------------------------
Creation of the Nessus SSL Certificate
-------------------------------------------------------------------------------
This script will now ask you the relevant
information to create the SSL
certificate of Nessus. Note that this information
will *NOT* be sent to
anybody (everything stays local), but anyone
with the ability to connect to your
Nessus daemon will be able to retrieve this
information.
CA certificate life time in days [1460]: ←CA局の有効日数
Server certificate life time in days [365]: ←サーバ証明書の有効日数
Your country (two letter code) [FR]: JP ←JPを入力
Your state or province name [none]: Osaka ←適当に
Your location (e.g. town) [Paris]: HigashiOsaka ←適当に
Your organization [Nessus Users United]:
Arkland ←適当に
-------------------------------------------------------------------------------
Creation of the Nessus SSL Certificate
-------------------------------------------------------------------------------
Congratulations. Your server certificate
was properly created.
/etc/nessus/nessusd.conf updated
The following files were created :
. Certification authority :
Certificate = /var/lib/nessus/CA/cacert.pem
Private key = /var/lib/nessus/private/CA/cakey.pem
. Nessus Server :
Certificate = /var/lib/nessus/CA/servercert.pem
Private key = /var/lib/nessus/private/CA/serverkey.pem
Press [ENTER] to exit ←リターンキーで証明書の作成の終了
Nessus用ユーザを作成します。
# nessus-adduser ←Nessusユーザの追加用コマンドの実行
Using /var/tmp as a temporary file holder
Add a new nessusd user
----------------------
Login : alk ←ユーザ名の入力
Authentication (pass/cert) [pass] : ←デフォルト(pass)を設定
Login password : ←パスワードの入力
Login password (again) : ←上と同じパスワードの入力
****ユーザルールの作成処理****
User rules
----------
nessusd has a rules system which allows you
to restrict the hosts
that alk has the right to test. For instance,
you may want
him to be able to scan his own host only.
Please see the nessus-adduser(8) man page
for the rules syntax
Enter the rules for this user, and hit ctrl-D
once you are done :
(the user can have an empty rules set)
accept 192.168.0.0/24 ←内部アドレスからのスキャンを許可
default deny ←デフォルトで、全ユーザからのスキャンを禁止
←ctrl-Dを入力し、入力モードから抜ける
****登録内容の表示****
Login : alk
Password : ***********
DN :
Rules :
accept 192.168.0.0/24
default deny
Is that ok ? (y/n) [y] y ←内容に間違いが無ければ y を入力
user added.
Nessusクライアント側の準備
筆者はクライアント側は、WinPCを使用します。
Win用Nessusクライアントプログラム(NessusWX)、ここからダウンロードし、解凍します。
- NessusWX.exeの起動します。
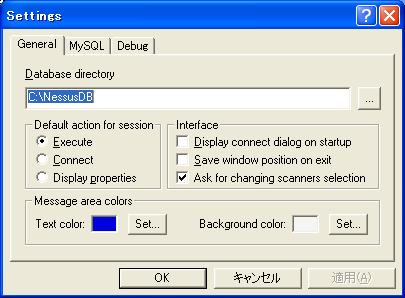
Nessus用DBの作成に関して確認用メニューを表示します。
そのまま[OK]で良いでしょう。
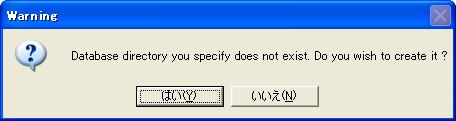
- フォルダーの作成確認メッセージを表示します
[はい]をクリックします
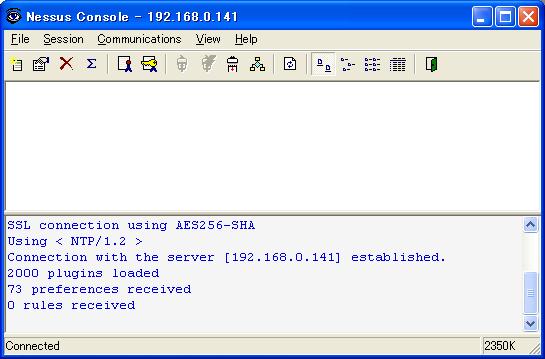
- 下記画面を表示します
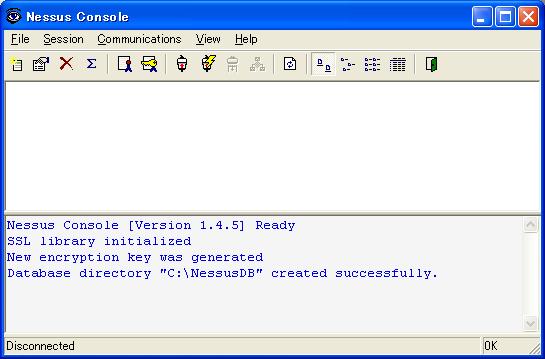
- 上記画面のメニューの[Communication]→[Connect]を選択します。
下記設定画面を表示するので、各種設定を行います。

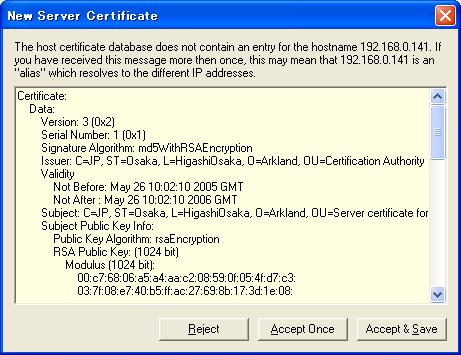
- [Connect]を押すと、証明書の確認画面になります。
[Accept & Save]をクリックして証明書を取り込みます
- クライアント(WinPC)とNessusサーバが接続されます
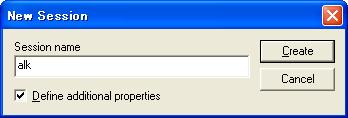
- メニューの[Session]→[New]と選択します。
Session名を聞かれるので、適当に名前を入力します
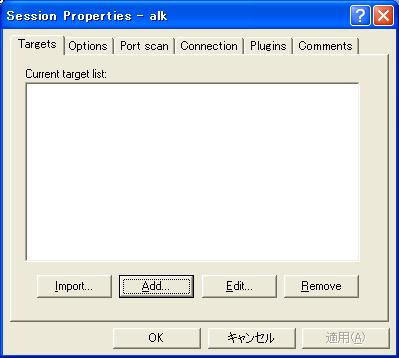
- Sessionのプロパティ設定画面が表示されるので[Add]を押します。
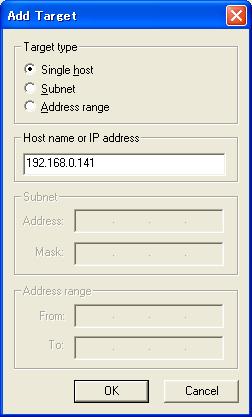
- 検査対象のIPアドレス(ドメイン名)を入力し[OK]を押す
- 検査開始メニューを表示するので[Execute]を押す
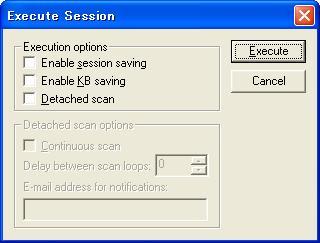
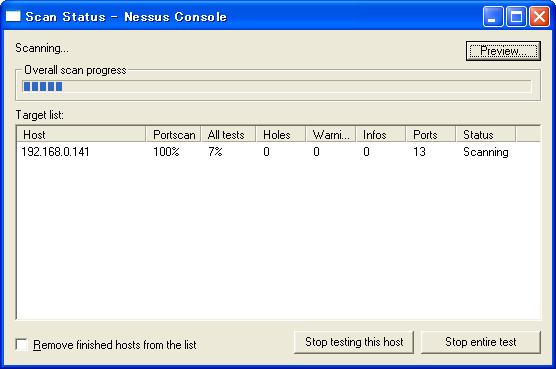
- 検査を開始します。
終了するまで、酎ハイを飲みながら待つ。
- 検査が終了すると、下記の画面を表示して停止します。
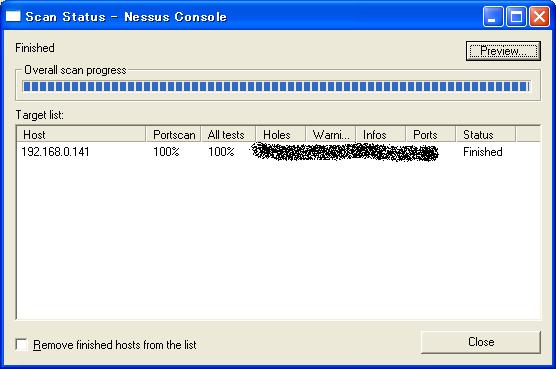
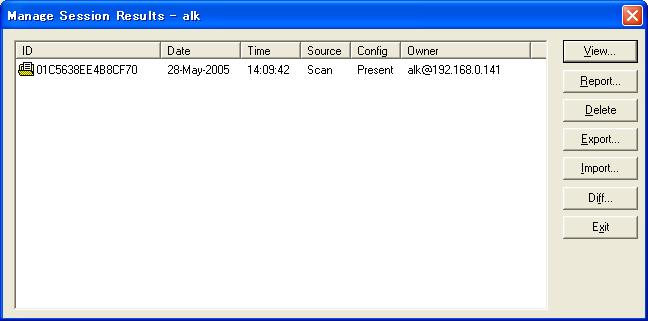
- [Close]を押すと結果確認画面になります。
[View]や[Report]で結果を確認します。
|